Back to the bodywork, and having sanded back to the fibreglass and aluminium substrates, the next problem was the poor condition of the surface. Old fibreglass is notorious for this, and ours was littered with pin holes, plus there were areas where we sanded through the gel coat into the glass fibre matting. All these imperfections required making good with car body filler. There were quite a few dents in the aluminium too, and these were knocked out as far as possible, then filled. This, like removing the paint, took over nine months because I went over the whole body, filling then sanding by hand to obtain the best possible finish. If you can see an imperfection at this stage, you will still see it in the finished paint.
 |
| Sanded filler below door |
 |
| Body filler on roof before sanding |

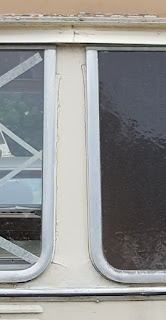
The narrow body panel of aluminium between the two rear windows was damaged when we bought the Viking. Presumably, the flexing of the body had torn it.
It is held in place by a combination of trim, window hinges, nails and sealant. As the trim and windows were now removed, this panel was easily detached from the wood behind it. The panel is contoured at its base so I hammered it flat on a work bench. This gave me a template from which I could mark out a replacement panel on a new sheet of aluminium.
Having cut around the lines, I fitted the new panel onto the caravan then, using a block of wood and a hammer, I beat the lower part into shape to fit the profile of the ‘van. A file was used to smooth and tidy up the edges.
Click here to go to the next page to continue reading our story.


