Viking originally insulated their caravans with glass wool (old style loft insulation) in the cavity between the inner and outer walls. Technology has moved on in 50 years, and newer caravans use closed cell foam boards which are far more efficient. Nothing is ever simple in this project. 25mm thick insulation board is readily available but the cavity on the Viking is thinner than 25mm. Although the manufacturers make a thinner board, finding a supplier is harder. The decision as to which brand of insulation was made for us by availability, and I found Insulation Cart (
https://insulationcart.com/#) who would supply 20mm thick Xtratherm and deliver it on a specified day. On a positive note, the board cuts easily with an old bread knife so insulating the caravan was quite a quick job. The rounded corners, below the corner windows, were insulated by making vertical "slices" about 1.5cm apart through the foil and foam on one side, but not the foil of the other side. These cuts allow the insulation to bend, but the intact foil keeps it together, acting like a hinge.
 |
| First piece in. |

Within the next few days, the internal wallboards were cut and fitted. The originals were in poor condition and most were damaged further when removed, but they were useful as templates for new ones. We used 3mm thick hardboard, fitted smooth side out because the texture of the rough side would show through wallpaper. Lou sized the walls with watered down PVA, to assist adhesion of the wallpaper.


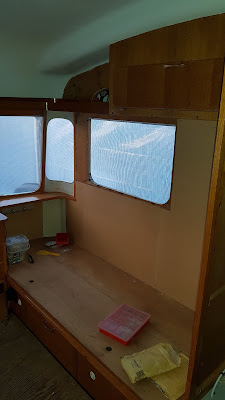

Care was taken with both the insulation and wallboards to ensure the vents were not covered. There is mesh on the inside of the exterior vents to prevent access by insects. On the inside walls, further insect mesh was installed, covered by grilles; plain ones where they cannot be seen, but some rather nice decorative ones on the upper vents, which we will show you on a later page.
When it came to wallpapering the interior, Lou had already done the four corner window panels so I could fit the curved windows. She used neat PVA to stick the paper directly onto the metal, but found it didn't allow the paper to slide much. For the rest of the interior, Lou used normal wallpaper adhesive, permitting the paper to slide in order to line up the pattern. After allowing to dry for a day, the edges were trimmed with a sharp craft knife.

|
| Template for papering around corner window |


